How to install a floor drain
In the renovation of the bathroom floor, people feel free to set a position to install, do not know there is a big difference in the role of not installed in the right place, but also may bring a lot of trouble in the future clean-up process. The following Xiao Bian will introduce to you about how to install the floor drain fitting and the correct installation method of floor drain tiles.
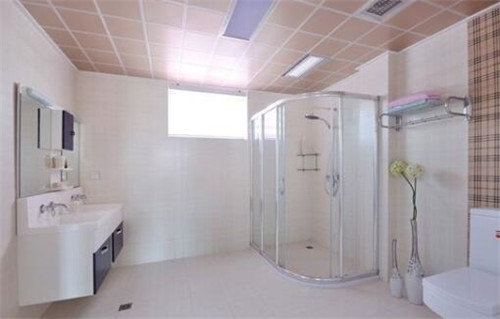
How to install a floor drain suitable
1, away from the bathroom door
It's better to understand that the floor drain has three major tasks: drainage, deodorant, and insect control. If you install it in the entrance of the bathroom, if something goes wrong in the first three steps, you can imagine the consequences.
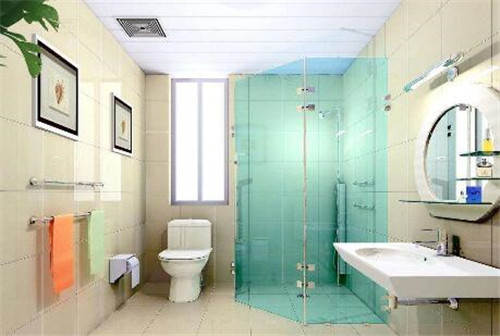
2, relatively wide open, good cleaning
Some people think that the floor drain is not good-looking. When decorating, they like to “hide†this thing, such as in the narrow corner behind the toilet, or hide the floor drain in the gap between the two bathroom products. Then you are cleaning up. When you know how big your mistake is.
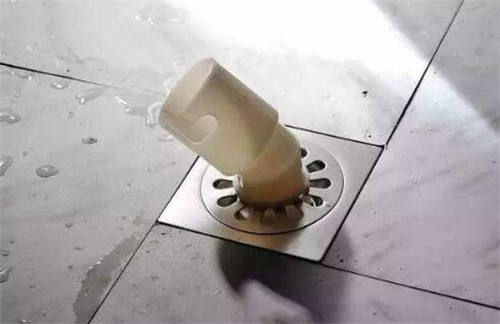
3, do not put in the middle of the bathroom
In order to facilitate the construction, some decoration workers may put the floor drain in the middle of the bathroom when they are installed. This will not only make the installation look unsightly, but it may also affect the drainage problem.
4, do not put outside the shower door edge
Because the position of the floor drain is the lowest place in the bathroom, the water here is not easy to dry. If the time is long, then the glass glue on the edge of it will be easy to mold.
The correct installation method of floor drain tiles
1, diagonal cutting and paving
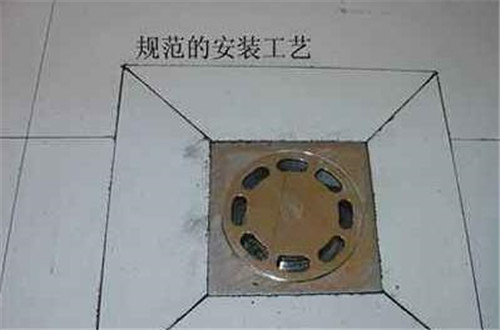
If the floor drain is in the middle of a tile, then the tile can be cut into four pieces diagonally when installed. When the tile is laid, the groove is formed at a certain inclination, so that the floor drain can be embedded in the center. .
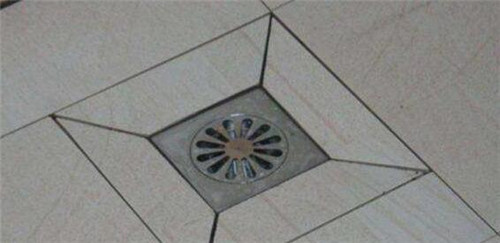
2, four sides cut way
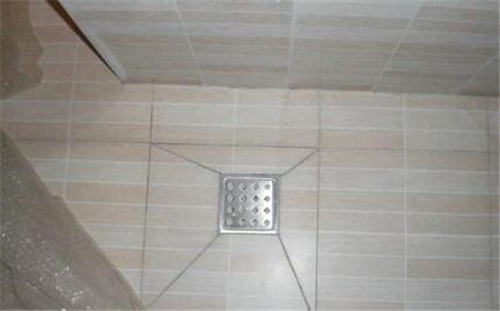
It can be said that this is also the most common and most suitable solution. Regardless of where the floor drains, we can say that we have to use a floor drain as the center and place a square at the edge of the floor drain 6-10 cm. Then you have to make a diagonal line from this place. When you tiling, make a slope. Yes.
The effect of this paving method may be relatively simple and beautiful, but it can be said that it is more practical.
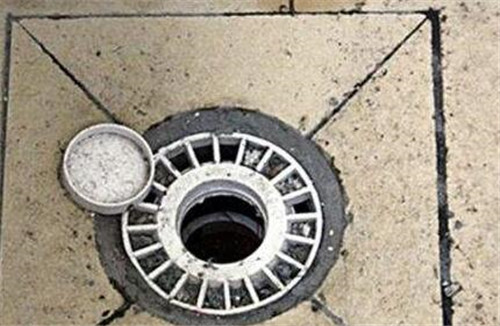
3, half diagonal lined
If the floor drain location is in close contact with the wall, then you can cut the tile along the line along the two corners of the floor drain wall to form a half diagonal. When paving, it is also necessary to incline toward the corner of the wall. This way, you can make the floor drain in a sinking point to facilitate drainage.

4, cross-type paving
This method of sticking is centered on the floor drain, and the four or four sides of the floor drain are aligned with the crosshairs of the floor tile and extend in all directions. It can be said that this method maintains the integrity of the tiles, which is relatively beautiful and the slope is relatively natural.
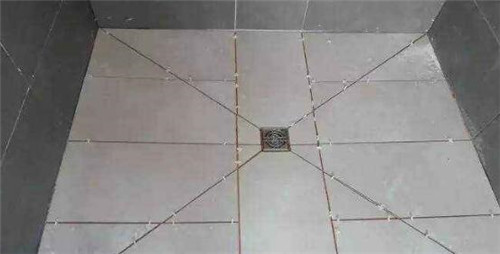
5, dislocation type paving
If the floor tiles of the balcony or washroom are laid out in a dislocation-laying scheme, the floor may be set at the intersection of four tiles.

6, edge interrupted
If the floor drain location is also on the edge of the wall, and the floor tile near the wall is straight, you can cut the tile and leave the installation floor drain directly in the middle.
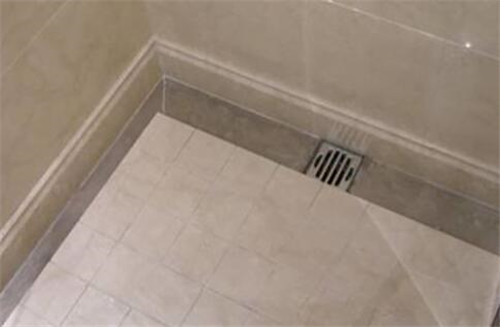
Summary: How to install the floor drain and how to install the correct tile floor tile to introduce the relevant content is introduced to this, the floor drain must be installed in the right position, this will not only not affect the drainage effect, while cleaning in the future use It is also more convenient.
The DIY Roll is a game-changing product that has simplified the process of various DIY projects. This versatile tool offers a convenient and efficient solution for measuring, cutting, and dispensing materials such as paper, fabric, and tape. With its compact and portable design, the DIY Roll can be easily carried and used anywhere. Whether you're working on crafts, home improvement projects, or even gift wrapping, this tool ensures precise measurements and clean cuts, saving you time and effort. The DIY Roll is a must-have for DIY enthusiasts and professionals alike, providing a seamless and user-friendly experience for a wide range of applications.
Easy Diy Magnetic Screen Window,Diy Magnetic Insect Mosquito Bug Screen,Diy Magnetic Insect Mosquito Screen Window,Diy Magnetic Mosquito Window Mesh Fly Screen
Jinwu Glass Fiber Co., Ltd , https://www.jwnetwindows.com