How to tile joints in tile jointing tools
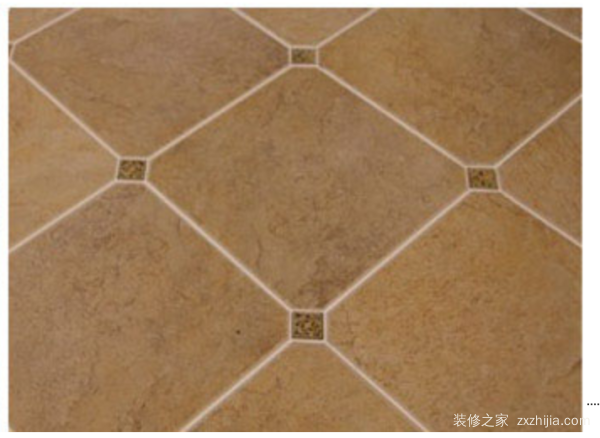
Nowadays, the decoration will be tiled. Even if the bedroom and the living room are not tiled, the kitchen and the bathroom will be tiled, because it not only looks good but also has the effect of European waterproofing. Everyone will think of the seams of the tiles, and what tools do you need to use when the tiles are seamed? Today, Xiaobian will take a look at the methods of the tile jointing tools and the method of tile joints!

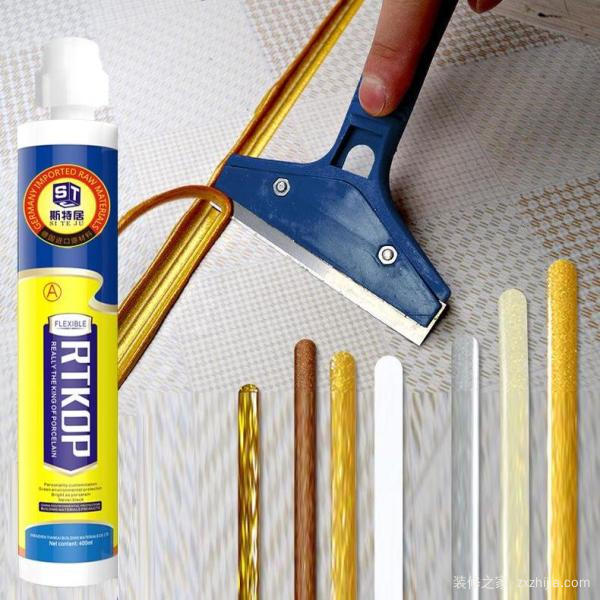
What are the tile jointing tools?
White cement
White cement is divided into ordinary white cement and decorative white cement. The strength and whiteness of the two are different. The whiteness of ordinary white cement is about 80%, the strength is higher, and the whiteness of decorative white cement is about 84%. Lower, compared to the other three kinds of filling agents, white cement has low whiteness and adhesion strength, and the brick joints are prone to yellowing and dirty. If it is in a humid environment, it will become a mold breeding ground, and the gap will be wider. Cracks can occur, which is very unsightly, but the price is = the lowest of the four materials.
2. Grouting agent
The whiteness of white grouting agent is about 86%, the surface strength is higher than that of white cement, mainly composed of white cement and trace polymer, pigment, and its color is more, but it is dull and dull. It is more suitable for antique brick. For joints with bright colors and high gloss, use color sealant to look at the overall effect of the wall surface. The difference between the brightness and darkness of the brick and the seam is too large and uncoordinated; and the color sealant is under construction. Easy to pollute the surface of the tile, cleaning is more troublesome, so it is generally used to make a joint with a white caulk.
Tile jointing method
1. Grassroots processing:
When the structure is constructed, the verticality and flatness of the outer wall should meet the standard requirements. Before the roughing, the concrete protruding from the wall surface is leveled, and the recess is filled with 1..3 cement mortar. When the thickness is larger, the layer should be layered. When the thickness or verticality deviation exceeds 35mm, the nail wire mesh should be adopted. And other technical remedies. Before the plastering, the dust, dirt and oil stains on the surface of the base wall such as the brick wall surface and the concrete surface should be removed. The interface (such as the intersection of the brick wall and the concrete wall) should be
The nail wire mesh is 500mm wide.
2. Interface agent:
The interface agent is adjusted to a thick paste with a ratio of 1..4 water ash and stirred thoroughly. The interface treatment after mixing and mixing can be directly applied by spraying or iron plate, the thickness is about 2-3 mm, the temperature is high or the dry wall, construction It is moistened with water before, and the interface agent is about 5-15 on the wall (depending on the temperature). It can be plastered or plastered after the interface agent is completely dry and hard.

3. Grassroots plastering:
Before the plastering, the reserved hole of the wall screw should be filled with the expansion agent, and the 40mm deep bell mouth is cut in the reserved hole of the outer wall. After the expansion agent is filled, the 20mm thick plugging king is filled in the bell mouth. After applying for 10~20min, stratify the bottom layer mortar according to the requirements. The thickness of the mortar at the bottom is 10mm. After wiping, use the wood crab to flatten it and water it every other day. When it is six to seven percent dry, you can Wipe the second time, the thickness is about 10-15mm, then use a wooden long ruler to flatten, wood crab hair, watering the next day to maintain. If you need to powder the third time, the method is the same as the second time until the bottom mortar is smoothed. On the base plastering surface, first hang up the vertical and horizontal control lines, and then hang out the tile control line according to the size and arrangement of the tiles.
4, row brick requirements:
According to the requirements of the tile layout, the horizontal and vertical seam widths are controlled at 5~9mm and 3~5mm respectively, horizontal seams, the window sills are generally on the same horizontal line, the walls are all bricks, and the sides of the window are strictly required to be symmetrical. Hang out the vertical and horizontal lines of each brick on the base plaster, and ensure that the gray joints are horizontal and vertical after the wall tiles are pasted. Before splicing, the water should be fully wetted according to the water absorption of the tile and dried. When designing the tile, the mortar should be full and should be lived once. It is not advisable to knock and move more, especially after the mortar is drained.
5, cleaning:
Use a slightly damp sponge to clean the surface of the tile, clean it with a clean damp cloth, and before the sealant film is dried. Immediately after use, rinse the tool with water. After the tile grout is dry and solidified, dry the surface with a dry cloth. The powdered tile grout is wiped off or the final cleaning with water.
Tile is now the most common kind of decoration material. It will not only use indoors but also use ceramic tiles. What are the tools and construction steps of the tile joints? I think you have read the above introductions. I understand that, if you still want to know more about decoration, please continue to pay attention to the decoration home Internet cafe.
More related wonderful reading:
What are the tile jointing tools? Tile joint construction steps
On-Line Reflective Glass,Blue Reflective Glass,Blue Reflective Float Glass,Dark Grey Reflective Glass
SHAHE HUAJINDE GLASS CO.,LIMITED , https://www.huajindeglass.com